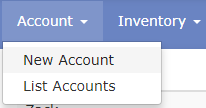
To start with the web application, click on the “Account” button in the Basic Navigation Bar. A drop-down of choices appears with the options “New account” and “List Accounts”.
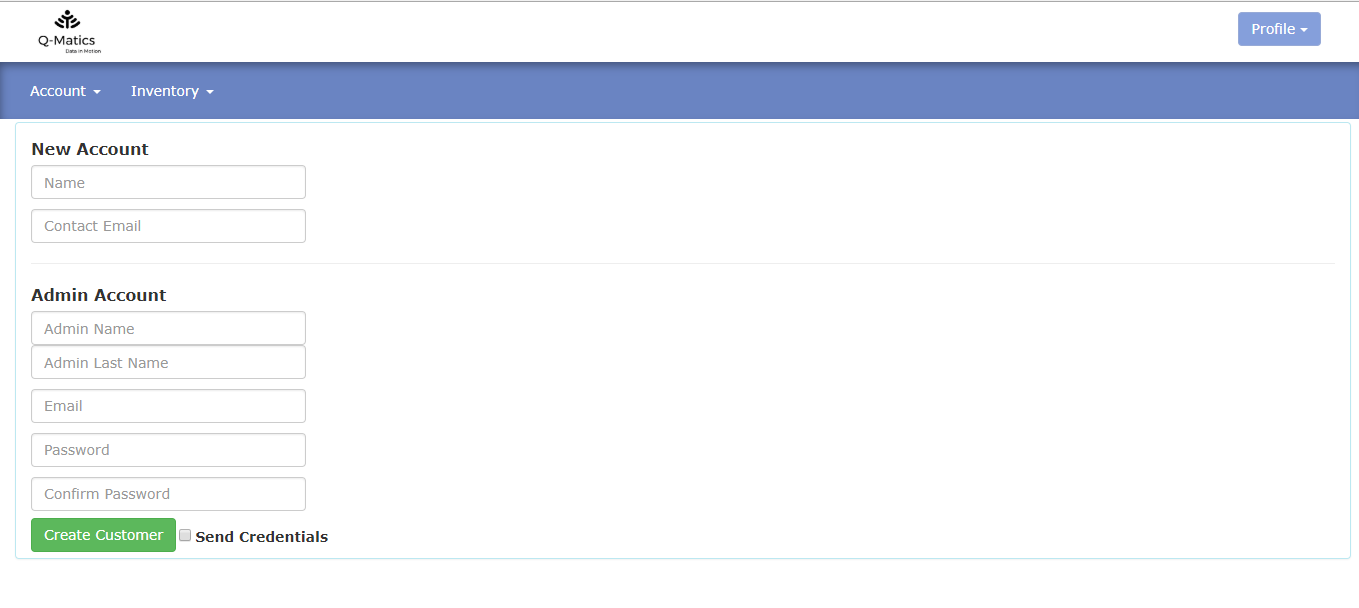
By choosing New Account, you’ll be directed to create a new customer account where you will enter details such as:
- Name of the customer account
- Contact email of the customer account
- First name of the person who will be administrating the account
- Last name of the person who will be administrating the account
- Email of the administrator
- Password & Password Confirmation
- You can access your company’s accounts by clicking on the second option “List Accounts”.
You will be prompted to the following screen:
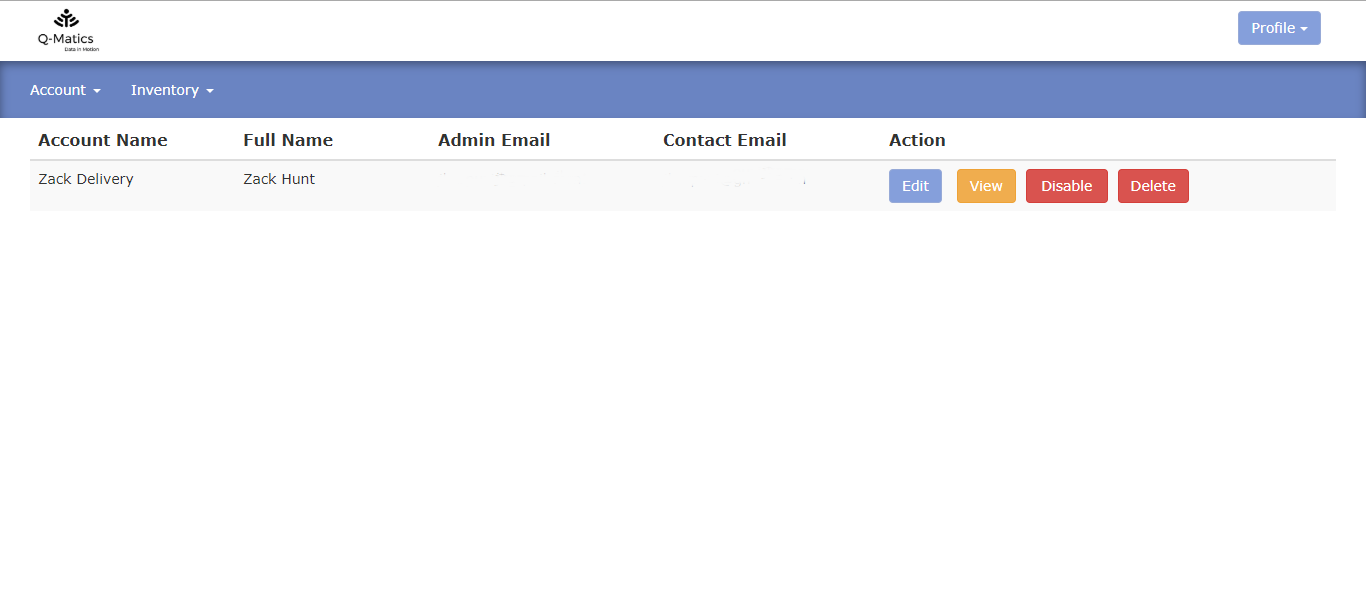
- On this screen you will see a list with all your clients, their account name, first name, last name, admin email, contact email, and their status (Enabled or Disabled).
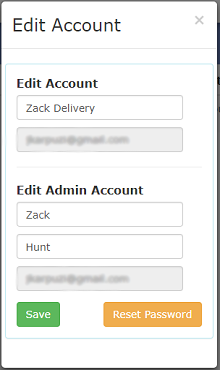
- Edit – Will enable you to edit the details of the account as client account name, first & last name of the admin account and reset the account password.
- View – shows you the details of the customer(s) and their organization
- Disable – Allows you to Disable (or Enable) a customer account
- Delete – Allows you to delete the customer entirely
Logging in as your customer
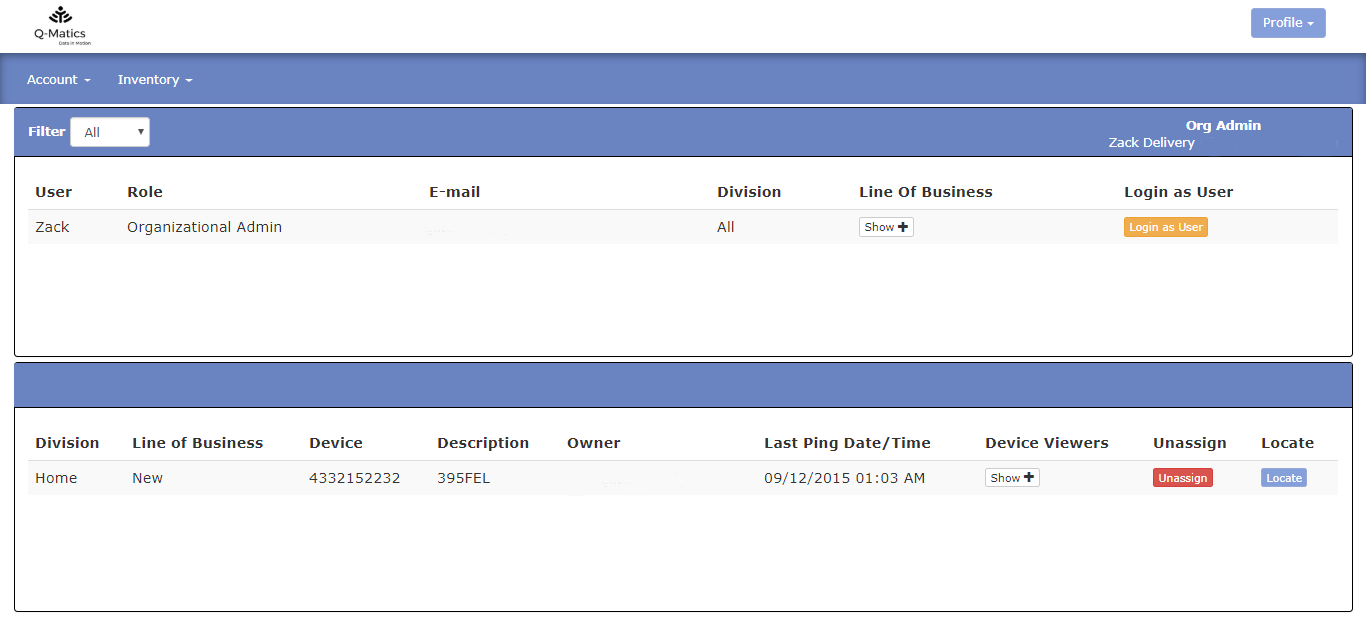
Once you’ve clicked on the ‘View’ on your Accounts list, you’ll be directed to the details of your customer(s) and their organization. Simply just click on the ‘Login as User’ button to log onto their organization.
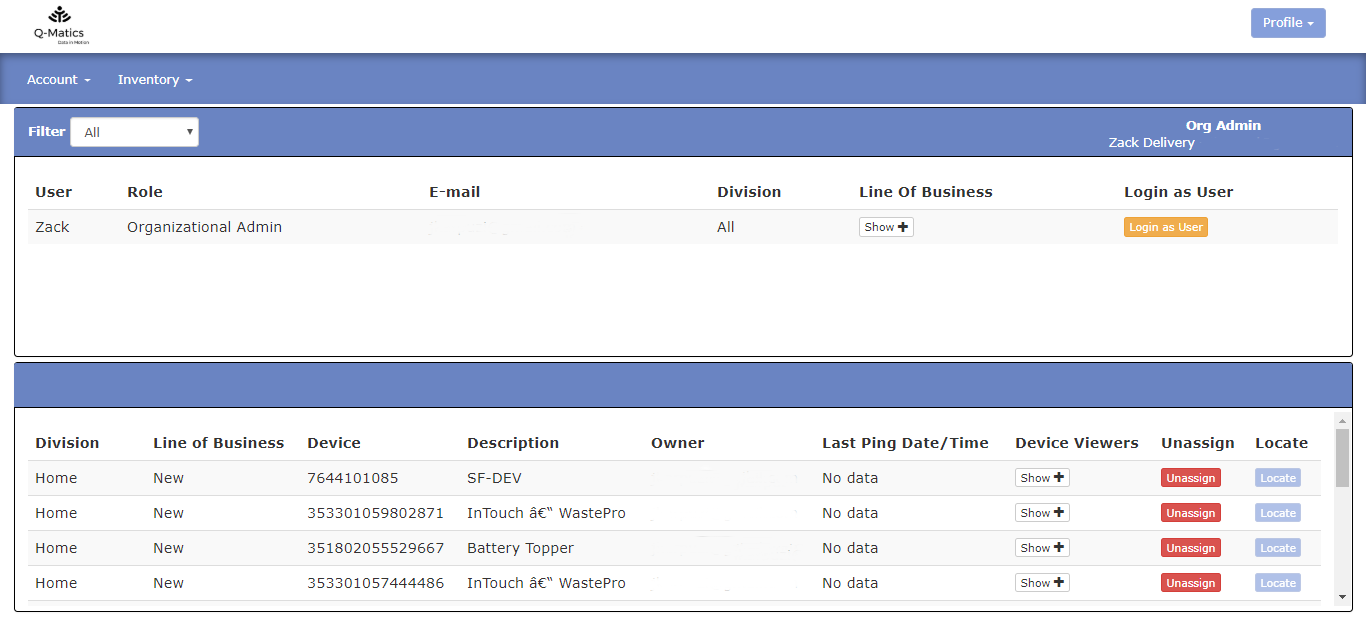
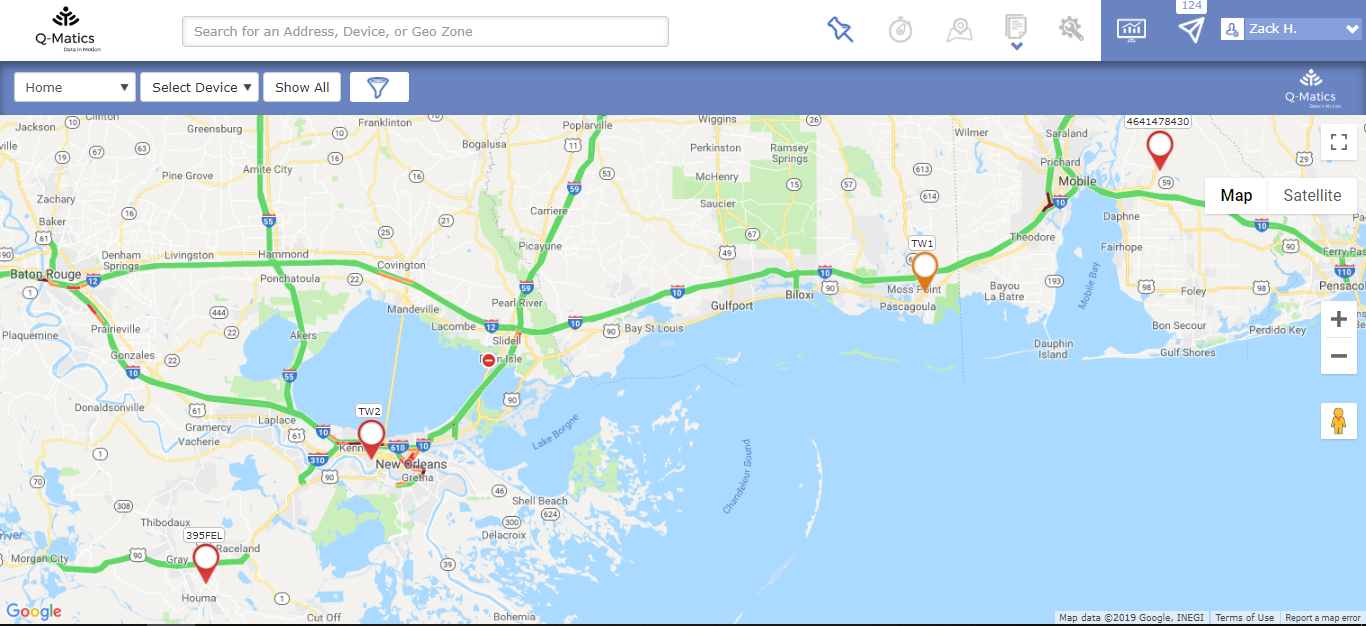
On the pictures below you can see the first screen to which your customer is presented to
Last Update: March 20, 2020
March 20, 2020 24 jusuf Reseller Guide
Total 0 Votes:
0
0
Tell us how can we improve this post?
Log In is required for submitting new question.